How would you verify surface quality and dimensional accuracy of small features on large components?Verifying the surface quality and dimensional accuracy of small features on large components can be a challenging task. While Coordinate Measuring Machines (CMMs) excel at measuring dimensional positions, assessing the 3D form and surface finish of intricate features poses a greater challenge.
To tackle this, optical 3D measurement systems offer a viable solution. These systems can capture both the form and finish of a surface using a single sensor, particularly those based on Focus Variation technology. However, when the component exceeds the size limitations of such instruments, alternative solutions become necessary.
One such solution is the cobot-based measurement system developed by Bruker Alicona. This system combines a collaborative 6-axis robot from Universal Robots with the robust optical 3D measurement IF-SensorR25 from Bruker Alicona. The IF-SensorR25 provides high-resolution, traceable, and repeatable measurements using the Focus Variation principle. With a vertical travel range of 26mm and motorized functionality, the sensor incorporates a built-in LED travel ring light with twenty-four segmented LEDs.
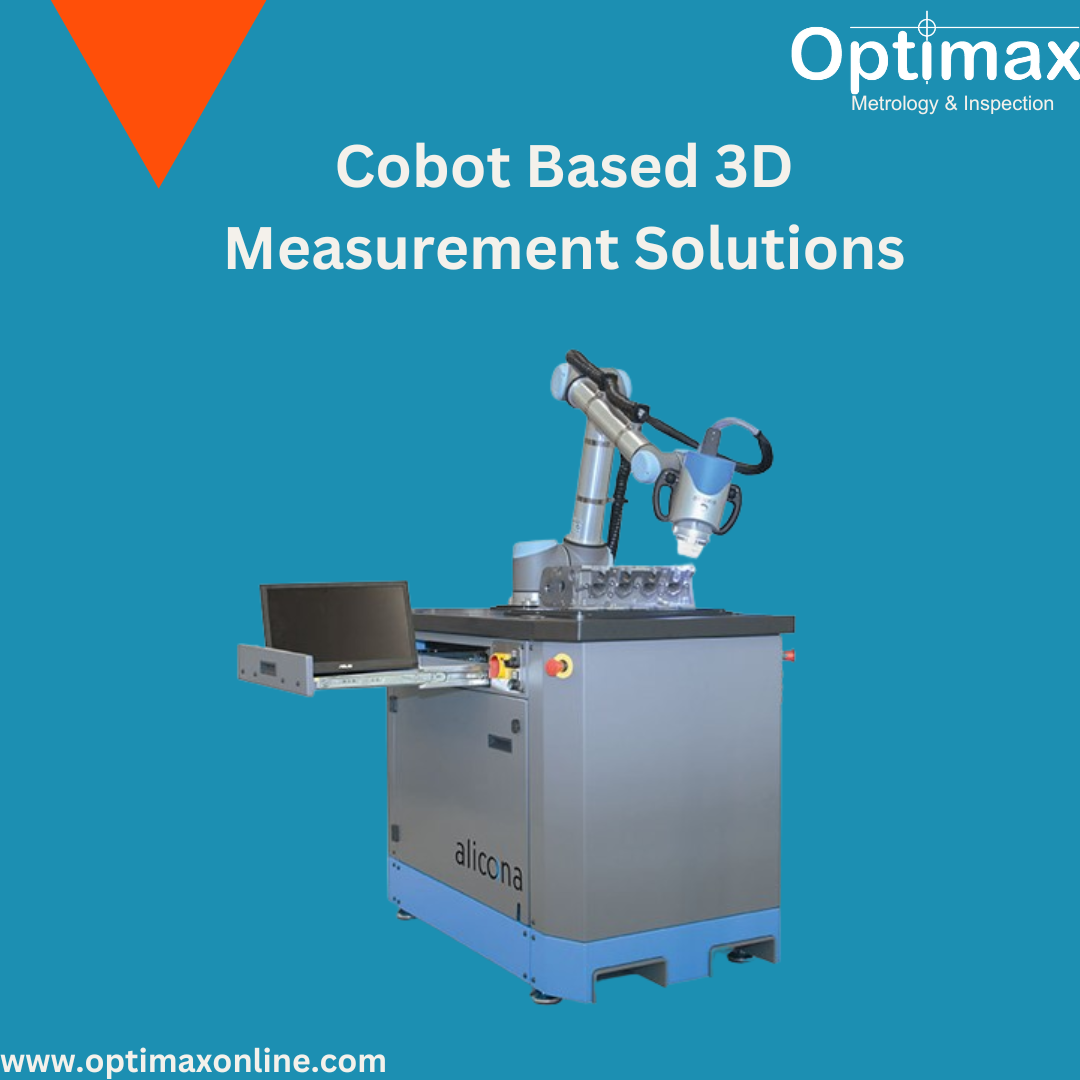
These collaborative systems are adaptable to various measurement tasks and applications. Programming, measuring, and managing pre-defined measurement programs require minimal prior knowledge of metrology. Bruker Alicona offers several versions of cobots tailored for specific tasks such as measuring discs, blisks, turbine casings, and a Compact Cobot designed for universal industrial quality assurance.
These innovative products are available in the UK through Optimax Imaging Inspection & Measurement Ltd (www.optimaxonline.com), facilitating advanced surface quality and dimensional accuracy verification for large components with small features.


