Optical Surfaces Ltd. has developed a proprietary artifact suppression method allowing them to design and produce a novel high magnification reflective beam expander for small aperture laser applications.
Accurate high magnification of small aperture laser beams has traditionally been a challenge because the optics associated with such a beam expander are difficult to test using an optical interferometer. This is because small aperture laser beams, when highly magnified, generate artifacts within the interferometer making it extremely hard to distinguish and analyse what are true errors and what are artificial errors. In conjunction with a customer, Optical Surfaces developed a novel method that suppresses these interferometer artefacts.
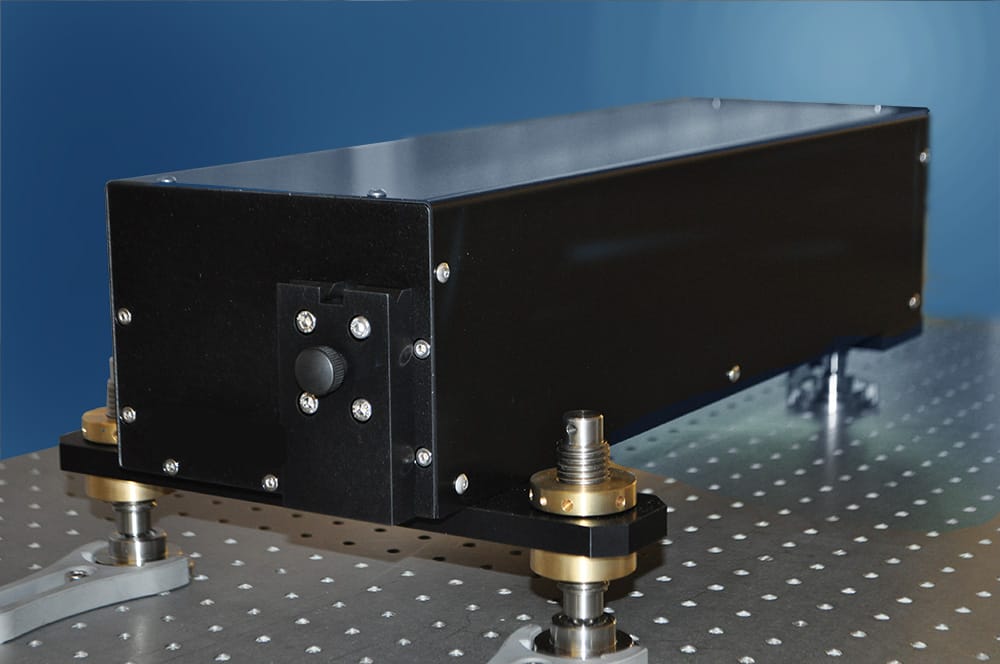
Incorporating high precision off-axis mirrors which have constant focal lengths, regardless of the wavelength of light being focused, the new 30x reflective beam expander has been demonstrated to precisely and accurately magnify a 2mm diameter laser beam. Advantageously, unlike lens-based beam expanders, this new high magnification reflective beam expander can be used with collimated polychromatic light without the need of fine focus adjustment. Manufactured to better than lambda/5 transmitted wavefront accuracy, this novel high magnification reflective beam expander produces no central obscuration and highly efficient transmission is obtained, unspoilt by diffraction patterns.
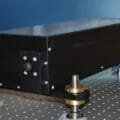
Supplied housed in a robust aluminium cover – the high magnification reflective beam expander comes with provision for secure fixing to an optical table. Alignment aids are provided to ensure correct beam pointing and tracking during integration.
For further information on artifact-free high magnification of small laser beams please visit https://optisurf.com/reflective-laser-beam-expander/ contact Optical Surfaces Ltd. on +44-208-668-6126 / [email protected].
Optical Surfaces Ltd has been producing demanding optical components, optical systems, and mounts for more than 60 years. The company’s ISO 9001-2015 approved manufacturing workshops and test facilities are deep underground in a series of tunnels excavated in solid chalk. This provides an environment where temperature is naturally thermally stable, and vibration is extremely low. With such stable conditions testing of high precision optical components and mounted mirrors becomes quantifiable and dependable. In addition to these natural advantages, Optical Surfaces has invested in an extensive range of test equipment and have developed methods to ensure accurate and reliable testing.

