Bowers Group is delighted to introduce the new Figura range of Surface Form & Geometry machines, engineered to provide fast, precise measurement solutions for contour, surface roughness, and roundness.
Poised to fill a gap in its already comprehensive precision measurement range, the new additions will enhance Bowers Group’s ability to support diverse applications in manufacturing, quality assurance, and engineering.
Martin Hawkins, Managing Director at Bowers Group, said: “We’re excited to introduce the new Figura range to both UK and global markets. This launch marks a significant expansion of Bowers Group’s product portfolio, bringing advanced solutions to industries that require precise measurement and quality control in surface finish. With advanced technology, impressive precision, and intuitive software, the Figura range meets the increasing demand for reliable inspection tools in modern manufacturing. Since showcasing the technology at MACH earlier this year, we’ve seen a strong, positive response, and I’m confident that the launch will be a great success.”
The Figura range includes two models designed for different measurement needs: the Figura CR for contour and roughness measurements and the Figura RD for roundness assessments. Both are available in various configurations, providing flexible options for surface and dimensional analysis across different applications.
With its advanced contour detector, The Figura CR precisely measures even minor deviations from the geometrical ideal shape, offering high precision surface measurement where the surface roughness of a workpiece affects its technical functionality. Offering accuracy and ease-of-use, it has an intuitive operation interface and supports efficient and accurate surface measurement.
The Figura RD provides roundness, cylindricity, straightness, and flatness measurements, among other complex geometrical metrics. Featuring a marble operation table and a floor-mounted anti-vibration system, it ensures the accurate measurement with a stable and reliable performance. The high-precision detector, paired with fully automatic centring and levelling, simplifies setup, and enhances measurement accuracy.
The Figura range comes with powerful, integrated analysis software that enhances user experience by enabling the creation, saving, and repetition of multiple inspection sequences. Operators can freely arrange 3D colour maps, quickly generate inspection reports in PDF format, and access ultra-fast reporting with Statistical Process Control (SPC) features.
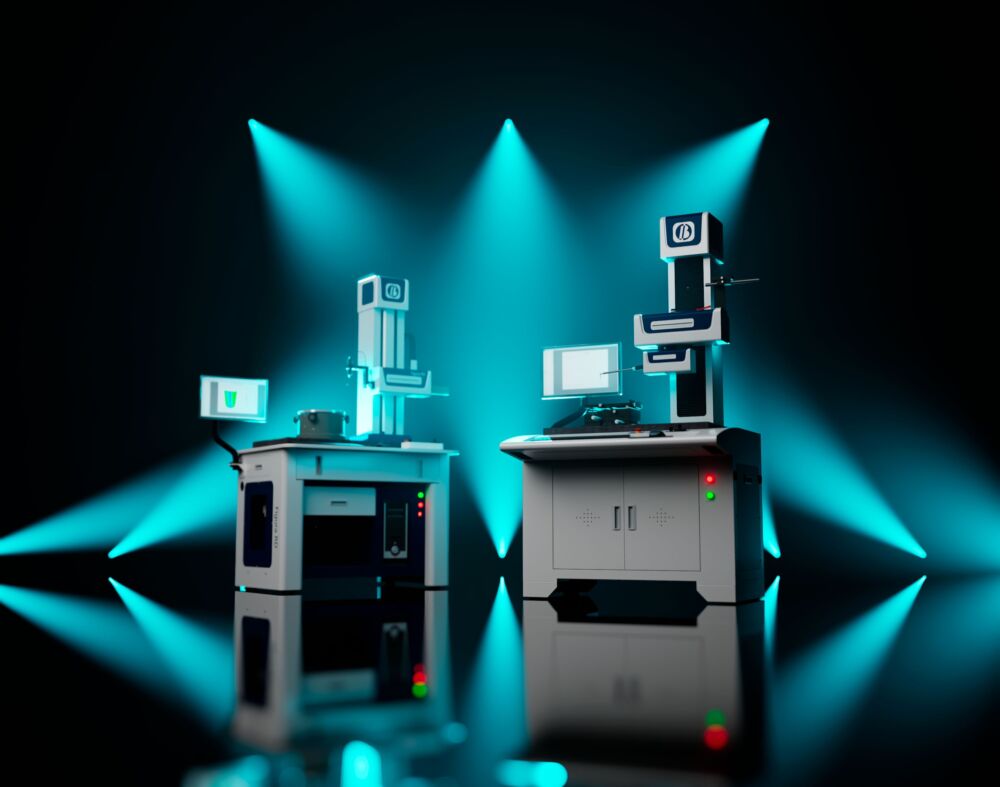
Both machines come with a full range of accessories, allowing for further customisation based on specific application needs. Regular software updates keep the Figura range at the forefront of measurement technology, ensuring it evolves with industry advancements.
For more information on the new Figura range and how it can enhance your measurement capabilities, please visit www.bowersgroup.co.uk or contact [email protected]

