~ Pailton Engineering enhances offering with new Vici Vision scanners~
To enhance the precision, accuracy and reliability of its manufacturing processes, steering component manufacturer, Pailton Engineering, has invested further in its optical scanning technology. The upgrade includes the introduction of a pair of Vici Vision M609 Techno and M1C scanners, which allow comprehensive inspection of components at much greater speed.
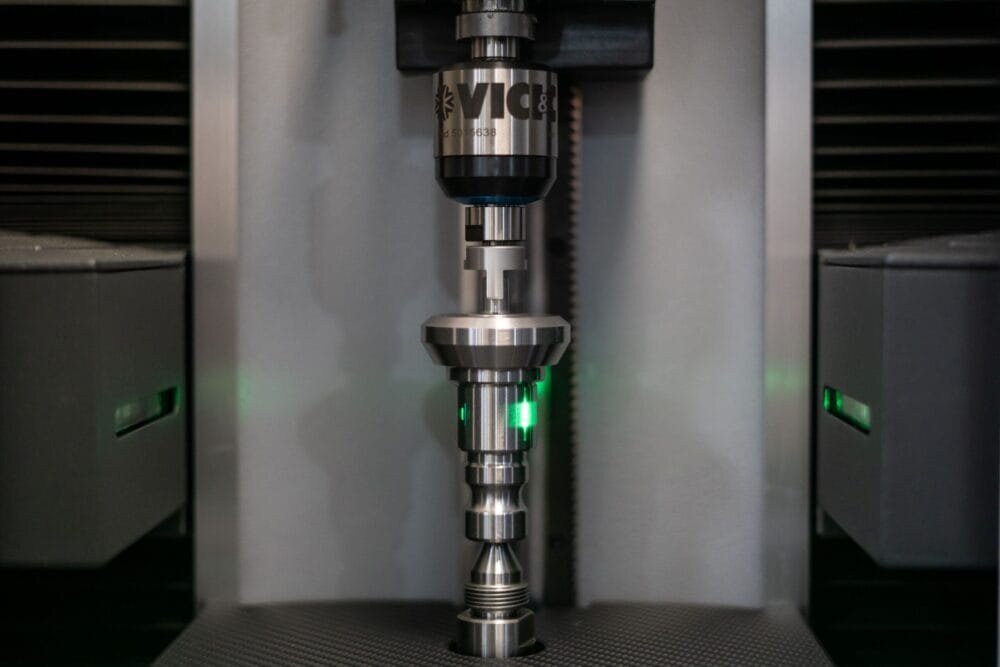
The Vici Vision optical scanners are designed to carry out complete form measurements on cylindrical components, such as Pailton’s shafts, ball pins and gears. The scanners perform critical checks such as sphere, taper, positional and even thread inspections.
Traditionally, form checks required manual measurement of each dimension and feature using multiple pieces of equipment, such as micrometres, vernier callipers and height gauges, followed by manual interpretation of results.
“Previously there were multiple measurement operations and equipment involved,” said Nick Jordan, head of engineering and quality at Pailton Engineering. “The risk is that there is a high level of manual interpretation of those results required, whereas our optical scanning equipment will instantly give you a full green light system, enabling our machinists to produce parts well within our tolerance parameters.”
Remarkably, these scanners can achieve 100 percent inspection of a component in as little as 12 seconds, providing a near instant analysis of a product within the machining cycle time. This rapid evaluation also allows Pailton to automate statistical process control (SPC), testing at regular intervals throughout a production run. Automating SPC enables Pailton to monitor production trends and pre-emptively address any deviations towards upper and lower specified limits (USL and LSL).
“We’ve also invested in bespoke fixturing for our ball pin CNC machines that enables all components to go directly to the scanners,” continued Jordan. “Parts are checked in-cycle, so we can see the trends and, if something starts to deviate, we can amend instantly, maintaining our nominal values.
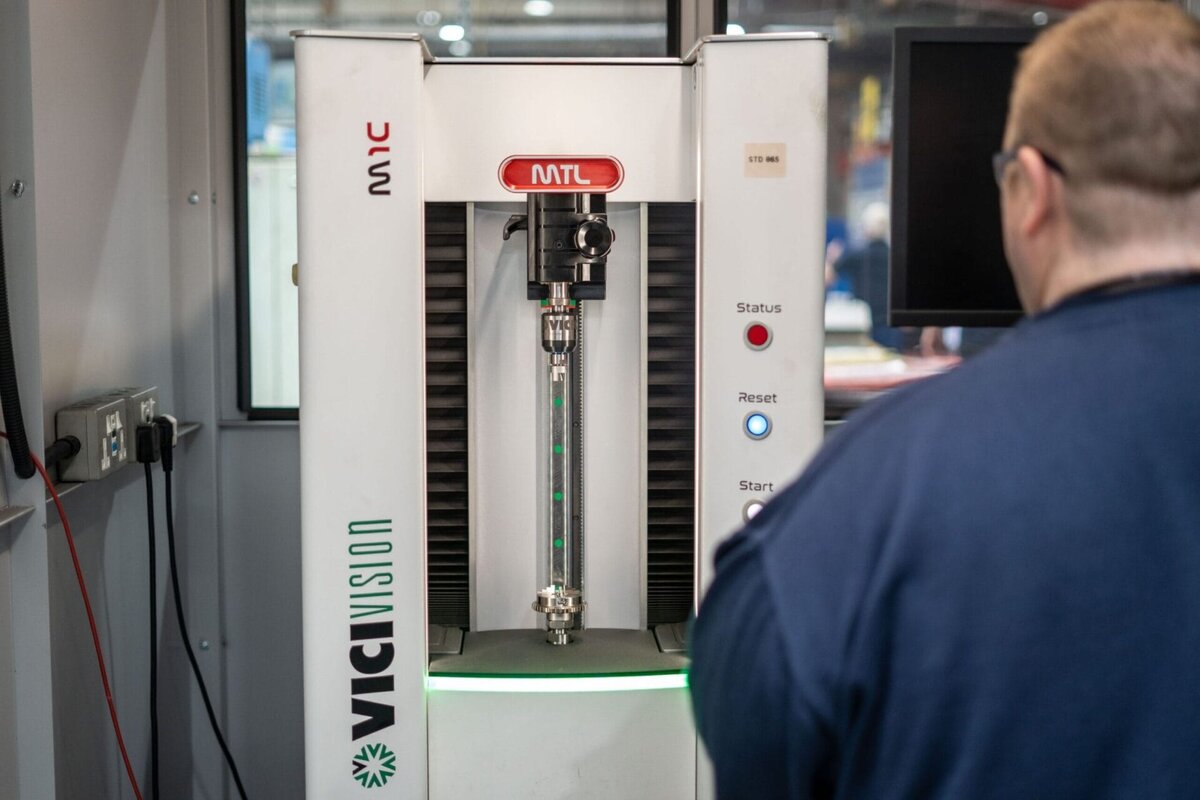
“We can also access our historic data to provide greater traceability,” continued Jordan. “Should we ever need to review a component from a previous batch of steering ball joints, for example, the data from the scanners will have been stored, so we have full confidence that the part was within tolerances, evidenced by the measurement results for that batch.”
Pailton’s decision to invest in the Vici Vision scanners is part of a wider drive to ensure the company can continue to provide the quality and consistency it is renowned for, while at the same time enhancing capacity and building for the future.
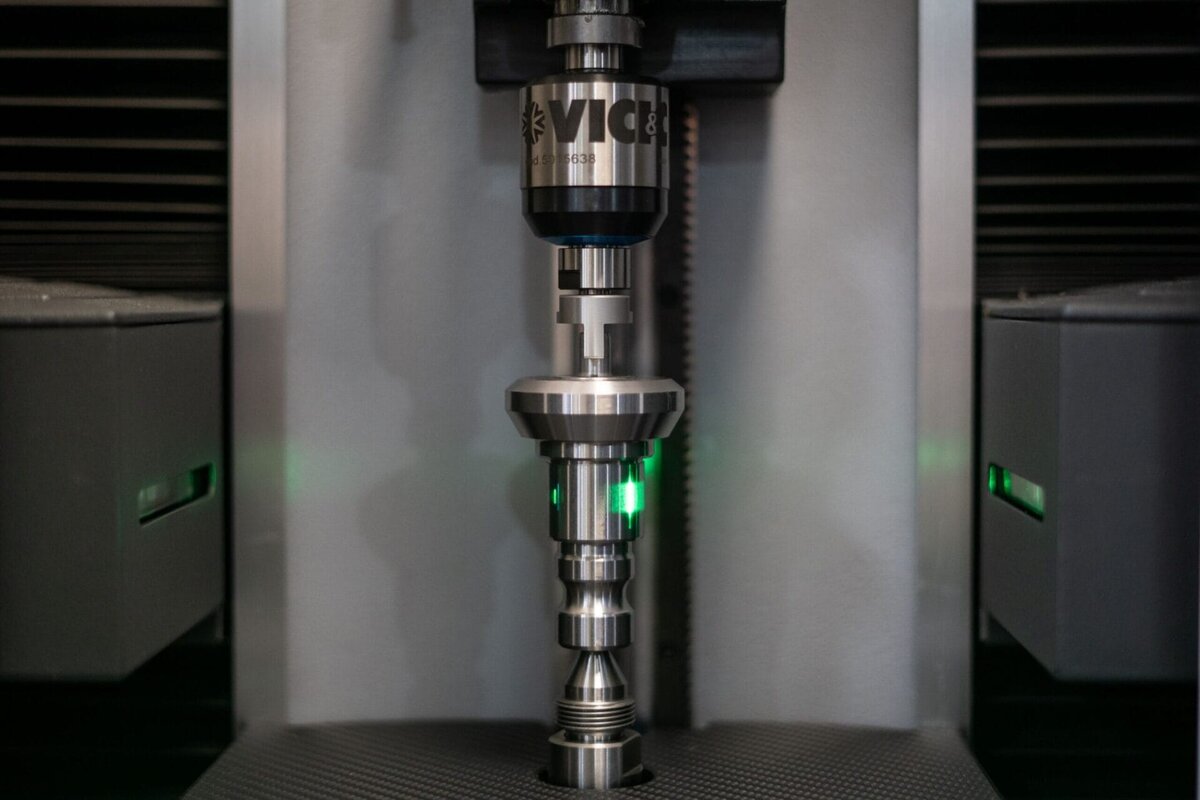
Pailton has recently made a string of new investments, including a new 3D printer, a new robot welding cell and a new 5-Axis HAAS machine. The scanners complement these investments by eliminating manual processing errors and maintaining precise control over production quality without impacting machining times. To see a range of available parts, visit www.pailton.com.

