Verifying the surface quality and dimensional accuracy of small features on large components can be a challenging task. While Coordinate Measuring Machines (CMMs) excel at measuring dimensional positions, assessing the 3D form and surface finish of intricate features poses a greater challenge.
To tackle this, optical 3D measurement systems offer a viable solution. These systems can capture both the form and finish of a surface using a single sensor, particularly those based on Focus Variation technology. However, when the component exceeds the size limitations of such instruments, alternative solutions become necessary.
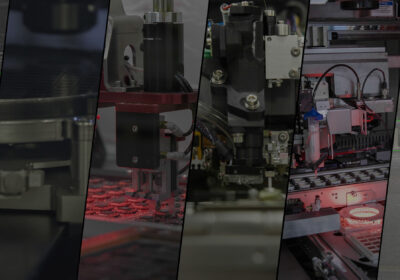
One such solution is the cobot-based measurement system developed by Bruker Alicona. This system combines a collaborative 6-axis robot from Universal Robots with the robust optical 3D measurement IF-SensorR25 from Bruker Alicona. The IF-SensorR25 provides high-resolution, traceable, and repeatable measurements using the Focus Variation principle. With a vertical travel range of 26mm and motorized functionality, the sensor incorporates a built-in LED travel ring light with twenty-four segmented LEDs.

These collaborative systems are adaptable to various measurement tasks and applications. Programming, measuring, and managing pre-defined measurement programs require minimal prior knowledge of metrology. Bruker Alicona offers several versions of cobots tailored for specific tasks such as measuring discs, blisks, turbine casings, and a Compact Cobot designed for universal industrial quality assurance.
These innovative products are available in the UK through Optimax (www.optimaxonline.com), facilitating advanced surface quality and dimensional accuracy verification for large components with small features.


